Survival Guide
Getting Started
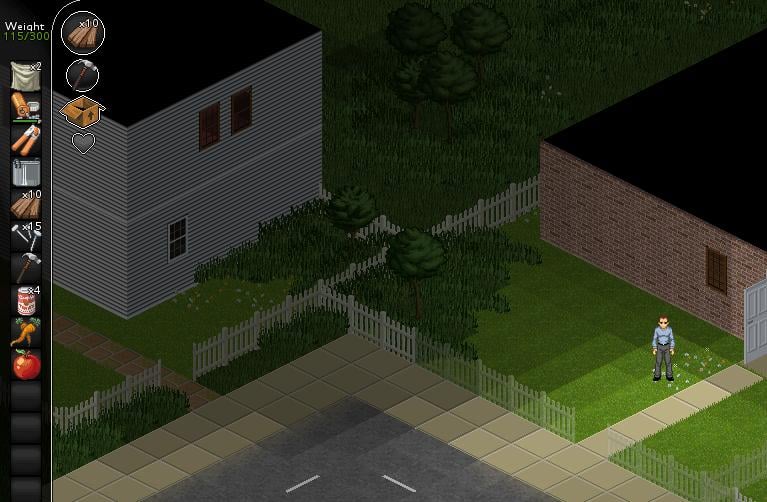
The tutorial with your wife Kate Smith starts the game off in a mostly zombie free zone which teaches you the basics of survival such as barricading windows, gathering food and fighting off a lone zombie. The tutorial even teaches the concept of how easy it is to die in game, with 2 scripted methods of death and one unscripted one.
The tutorial however is skippable by either taking a pillow from the cabinet and suffocating Kate, or by hitting the Esc button during her opening speech. After hitting esc, the tutorial helpers can be turned off by clicking one and hitting "no more", but you will always have a mission to tend her leg. Collect the basic supplies from the tutorial house and the soup house next door and you're ready to head off into the zombie infestation.
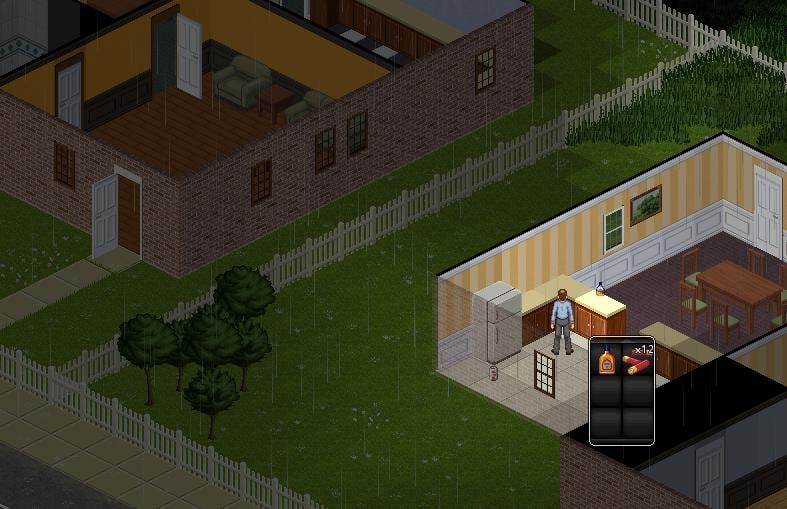
From there, moving quickly to the next house down, supplies can be gathered from the kitchen. Plenty of food to start you off, and a chance to find weapons/ammo in the cabinets never goes amiss early on. Even if you stumble across the occasional zombie, the quick in and out trip lets you ignore them for now while waiting to find an actual weapon.
Finally, if you've moved quickly, you should be able to reach the next house down the line and get inside before dark. If the front door is locked, there's a back door which can be used to get in (chances are both won't be locked). If you have any zombies in the area, dart around back and get them to follow you into an open door. Beat them to death with planks (safest) or take the risk and hammer them to death. Don't close the door on them though, doors are valuable because you can walk through them AND prevent zombies from walking through it. Even a large horde takes a fair amount of time to break an unfortified door down. A fortified door will often hold long enough for you to get a full nights rest in before they club it down. Doors can be crafted from salvaged components, but there is a limited amount of such components in the world so don't waste them needlessly.
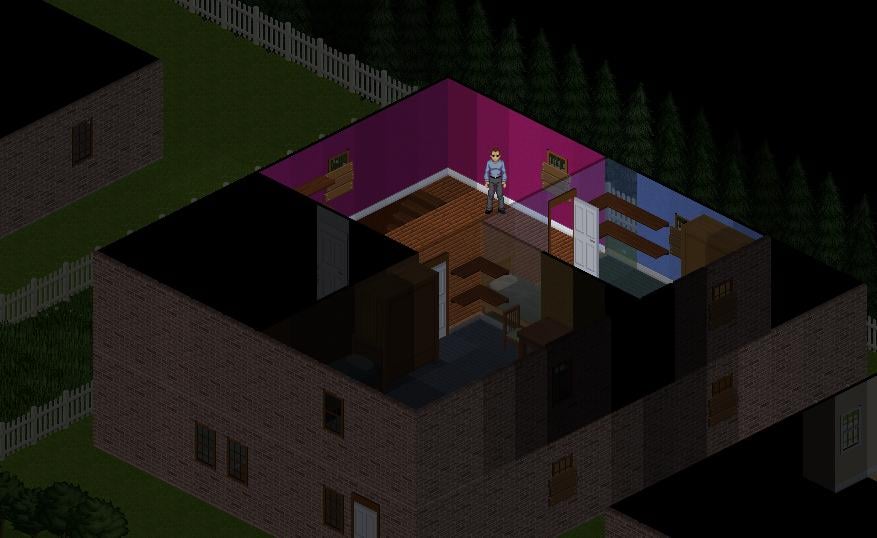
Barricade the two side windows near the middle room, and then all of the windows in the mid room/kitchen. Upstairs you can barricade the stairway and the bedroom as well. You have exactly enough wood to make a living area out of sight from zombies since the giant bathroom has no windows if you ignore the second bedroom after looting it.
This is enough to give anyone the basics required to survive their first night outside the tutorial home.
Strategies
When playing sandbox for the first time, you will most likely be unsure of how to go about setting yourself up for a long and healthy life. Because sandbox does not have any objectives or prompts to help you along your way, you will have to plan and go about collecting your equipment with no assistance. Remember to barricade up your doors and cover your windows with bedshees for maximum protection Here is a good strategy that should cover every need your zombie survivor will have.
STEP ONE
The initial spawn point in sandbox will be randomized and you could end up in any of the 20 or so buildings the town has to offer. No matter where you start, your first call of duty will be to strip the house of everything. You are mainly looking for a weapon, food, and tools such as hammers and items such as blankets which make bandages and curtains which you will want later on. Once you have done this you can progress to step Two.
STEP TWO
Your next objective, which is arguably the most important and crucial step to surviving, is to secure a considerable amount of food. The general store (building 9), is packed with non-perishable food items such as packets of chips and soft drink. These are easy items to secure and can last many days before you will need to consider cooking perishable food items and soup. By now you will unlikely have enough daylight left to move to the next equipment location. So rapidly progressing to step three is advisable.
STEP THREE
Right beside the general store is the Tower Block (Building 10), which consists of 7 levels. The first 3 levels should be avoided as they still allow for detection from zombies who are close to the block. The easiest option is to secure the 4th floor as it's the most accessible of the safe levels. Once secured you will want to bandage any injuries you may have sustained and consume some of the food you have gathered (consumables first). Get a good nights sleep and get ready to move out early next morning.
STEP FOUR
After resting, you should dump all your gathered supplies that you won't immediately need in the draws and cupboards, as to not weigh yourself down which can lead to problems such as slow movement and injury. The best time to head out is around 8am, which is about the time it gets bright. Your next objective is to move down the the warehouse (Building 13) to secure tools. You are primarily looking for planks, hammers, oil cans, torches and definitely a shotgun. Right next door to the Warehouse is the Tool Shop which has a fair amount of extra hardware supplies which could definitely come in handy. Move rapidly back to the Towerblock, killing any lone zombies along the way who could possibly cause problems for you later at night if they follow you.
DECISION TIME
Now that you have secured food, weapons and tools, you have a few options. You could remained holed up on the 4th floor, only going out to collect food and the other crucial supplies, but this rapidly becomes boring. Another option is to systematically clear out the town house by house each day for the sole purpose of keeping busy. Another, quite fun objective could be to build a fortified house with various weapons on hand. After doing this, you could lure the horde to your fortress via gunshots or fire from Molotov Cocktails and attempt to hold out as long as possible. Any way you choose to play, just make sure you have a goal to work towards or else the game can become dull fast.
Choice of fortress
Any place you choose to stay for the night should have multiple exits, but preferably not ones that are visible from each other. A very good way to confuse zombies or avoid them altogether is going up a flight of stairs after having dropped out of sight, as such, multi-story buildings are ideal. You're also going to want a place with storage space because as of yet players are unable to craft and place any form of container.
Some appropriate buildings in the Suburbs are buildings 4 and 10.
4 (the house mentioned above) makes an ideal fortress as it has plenty of storage space upstairs and is convenient to access from the starting location. You can collect supplies from houses 1-3 and get into 4 with enough time to settle down within the first day. Barricading nearly every window is a must in the Pre-Alpha due to some glitches that let you see out of windows in the front room while being in the middle room. Naturally, the zombies can see in as well. With two exits and an upstairs hidden from view of either of them, it's quite easy to let the zombies shuffle in one door and out the next while you hide upstairs. The only disadvantage currently is the location. House 4 is on the edge of the current map, forcing forage trips to often go overnight to reach the opposite edge of the map. Clearing out double story houses and/or building 10 for an overnight stay is a good idea.
10 is another crowd favorite because you can live on the 4th/5th floor well out of sight of any zombies. And it also lets you cull a zombie horde one by one as the come up the stairs. Storage space is adequate, but there won't be much in the way of supplies when raiding the apartments as they tend to be rather barren. There's also the chance that the front door is locked, forcing a noisy entrance. For a game start, this is by no means ideal.
Daily Activities
Zombies spawn in less numbers during the day, but they have greater vision range. It's still well worth avoiding the night time though, because the streets often become crowded with the undead. If you have a reliable melee weapon (The spiked baseball bat is an excellent choice, although a fire axe works as well) clear out the area around your fortress and any areas you're foraging in. Since zombies seem to attract each other, it's best to not let any follow you, even if you're just on a routine cupboard search. Never use guns for this purpose, and try to stay away from doors so you don't accidentally bash them and make more noise than needed.
Keep an eye out for houses that make good secondary fortresses. Even if you have a main one where you collect supplies, be aware "circumstances" may prevent you from returning for up to a couple days at a time. Knowing multiple defensible places to stay is a good idea when you have to make trips further afield for supplies. Also stock enough food to get you through a day or two when going on an outing, just in case you get stuck before finding anything edible. Remember that nighttime is the most dangerous time for you to be out and about. Not only is vision limited, but more zombies will spawn. Stay indoors when it is night. Also try to avoid building barricades at night because you will make a lot of noise. The last thing you want is a nightly horde to stumble onto your doorstep. The day is the perfect time for you to go out and forage for supplies and equipment, but always keep an eye on the clock and be indoors before it is dark. Spend your nights sleeping, eating and healing.
When the undead finally find you and you are on the run, always turn corners twice when escaping zombies. They will know enough to follow you around the first, but if you can make it around a second you'll have lost most of the shufflers. When entering rooms, be aware a zombie may be standing vacantly just out of sight, but within lunging distance. A good tactic is to run to the corner of the room you can see fully, giving you space to deal with any zombies who lurch after you. A pushing weapon such as a plank/bat/spiked bat is ideal for close quarter encounters since you can fend off multiple zombies while dealing damage.
Combating the undead
When you're starting out, you have two choices of weapons. Although the hammer does some damage, the very short range and lack of instant killing power like the axe make for a horrible weapon. Any time you're using this, you're risking a scratch/bite injury. When starting out it's actually better to use wooden planks as a weapon since they push zombies away. Even though it may take 20 hits to kill that one zombie who's stubbornly followed you into a building, it's much better to be safe than sorry. Even the most minor of injuries can result in infection and eventual death, so keeping the undead at arms length is a key to surviving more than a couple days. A rough order of usefulness for melee weapons is:
Spiked Baseball Bat > Axe > Baseball Bat > Hammer > Wood planks
Guns (assuming there will be more than the shotgun added at some point) are very much a last resort weapon. If a horde of zombies has you pinned in a dead end room and is breaking down the door, then you use it. Another group of zombies will almost certainly be attracted, but the idea is to clear a path so you can run, not to clean the area of zombies. The liberal application of a spiked bat can still allow you to take out quite a few of the shamblers before darting around them though. Use guns with caution, and preferably never around an area you'd like to spend the night in.
Injuries and Infection
"An ounce of prevention is worth... everything. There is no cure after all." - Jackson Buckle
Injuries currently only come from zombies at the moment (guns seem to kill instantly). Infection can happen when the skin is broken, wounds that break the skin are labeled as scratches and bites. A scratch has a 25% chance to cause infection, however a bite is guaranteed to infect. Eating well and resting (for convenience sleeping pills make the resting part much easier) help heal injuries, although it's unknown if this has any effect on the chance of infection from an injury. Bandages should be applied to flashing injuries to aid in healing, as soon as possible for bleeding wounds as they cause additional damage if left untreated.
One of the worst injuries to have is anything happening with your feet. Walking in any way will cause your character to experience pain, but it's currently impossible to lie down or rest in a way that doesn't involve sleeping. As such you're forced to constantly pop painkillers every night before bed if you want any chance of sleeping that night. The best way to heal this injury is to stock your inventory with food, pain pills and sleeping tablets. Feed up before drugging yourself unconscious and the wound will heal over time.
Unfortunately, early infection (before the queasy moodle appears) seems to cause generalized minor injuries to the entire body, including the feet. Because this counts as a foot wound, your character will be in constant pain whenever he tries to walk. This puts a serious drain on pain pill supplies since you need them to sleep. It's unknown how long this early infection stage lasts if no further injuries are sustained, or if it only increases your chance of full infection upon the next skin breaking injury.
Once the queasy moodle happens, your days are numbered. Even with lots of bed rest and good food the infection can take over your body in as little as 4-6 days. Unless you're trying to push for an extra couple days on a record game, it's probably best to make your bucket list and start on it immediately.


